The short answer
Organize printed photos in seven passes: define the collection you want to finish, gather one manageable group, remove obvious duplicates and non-photo items, sort by one primary rule, place uncertain images in a separate “identify later” group, label the enclosure rather than the image, and create a short index that explains each category. Start with broad categories such as decade, household, person, trip, or event; do not try to identify every face and date during the first pass. Keep irreplaceable originals separate from everyday copies, and pause when you find photographs that are stuck, brittle, mold-affected, or otherwise vulnerable. Use sleeves and enclosures selected for the material and condition of the photographs. A clear multi-case box can make categories visible and easy to retrieve, but it is an organizational layer unless its material and photographic-storage testing are documented. The best system is one another family member can understand without you standing beside it.
A useful photo system preserves two kinds of value: the physical print and the context that makes the image meaningful. A perfectly stored photograph with no names, date range, or story can still become difficult to use.
This guide focuses on the workflow. For enclosure materials, handling, plastics, and storage location, use our broader guide to how to store printed photos and cards.
What should “organized” mean before you begin?
Choose a finish line that fits the collection and the time available. “Organize every photograph the family owns” is difficult to complete. “Sort the loose prints from one drawer into labeled decade groups” is concrete and reversible.
A practical finish line includes four things:
- Every processed photograph belongs to a named group.
- Uncertain images have a defined place instead of stopping the project.
- Important originals are separated from everyday handling copies.
- A short index explains how to find the groups again.
Do not make a beautiful container the first goal. Decide how the collection will be used—family history, school projects, scanning, or memory keeping—then choose the container and detail.
When the organizing system is clear but the format is not, use our comparison of a photo storage box versus a photo album to choose between flexible categories and page-by-page viewing.
How do you gather photos without creating one overwhelming pile?
Work in batches. Select one drawer, album, envelope, branch of the family, or date range. Keep photographs in their existing groups until you record what the envelope or note says; an old label may be imperfect, but it is still evidence about context.
Prepare a clean, dry surface away from food, drinks, open windows, and direct sunlight. Use clean, dry hands and handle prints by their edges. Support larger or fragile items instead of lifting them by one corner. If a photograph is stuck to another item, do not pull it apart.
Preserve the starting context: before moving a group out of an old envelope or box, photograph the container and its labels. Keep relevant notes with the group or transcribe them into the index.
What is the fastest useful first pass?
Use five temporary categories. Keep the names simple enough to write on cards:
- Keep: useful or meaningful photographs that can enter the main sort.
- Duplicate / share: true duplicates or near-duplicates to review later.
- Identify later: people, places, or dates that require another person or source.
- Not a photograph: receipts, blank paper, unrelated documents, and packaging to route elsewhere.
- Conservation concern: stuck, brittle, torn, damp, mold-affected, or otherwise vulnerable items that should not move through normal sorting.
Do not discard an image merely because it is poorly exposed or unfamiliar. A duplicate may have information on the back, and a blurred photograph may be the only record of a person or place. Make irreversible decisions later, after the context is clearer.
Should photos be sorted by date, person, event, or place?
Choose one primary axis and use the other facts as labels. Mixing several rules at the same level creates categories that overlap and become hard to maintain.
| Primary rule | Works well when | Watch for |
|---|---|---|
| Decade or year | The collection follows a family timeline | Many dates may be approximate |
| Household or family branch | Several families contributed mixed photographs | Group photographs may belong to more than one branch |
| Person | The collection is small or centered on one life | Events and group photos become fragmented |
| Event or trip | Photos arrived in recognizable batches | Everyday photographs may not fit an event |
| Format or size | Storage hardware requires different enclosures | Meaning is separated from physical format |
When dates are unknown, use honest ranges: “late 1980s,” “before 2005,” or “date unknown.” A question mark is more trustworthy than a confident guess that later becomes family history.
How many categories should you create?
Begin broad. Ten useful groups are easier to finish than fifty narrow ones. Split a category only when it becomes difficult to retrieve or too large for its enclosure. Merge categories when the distinction is not meaningful to anyone who will use the collection.
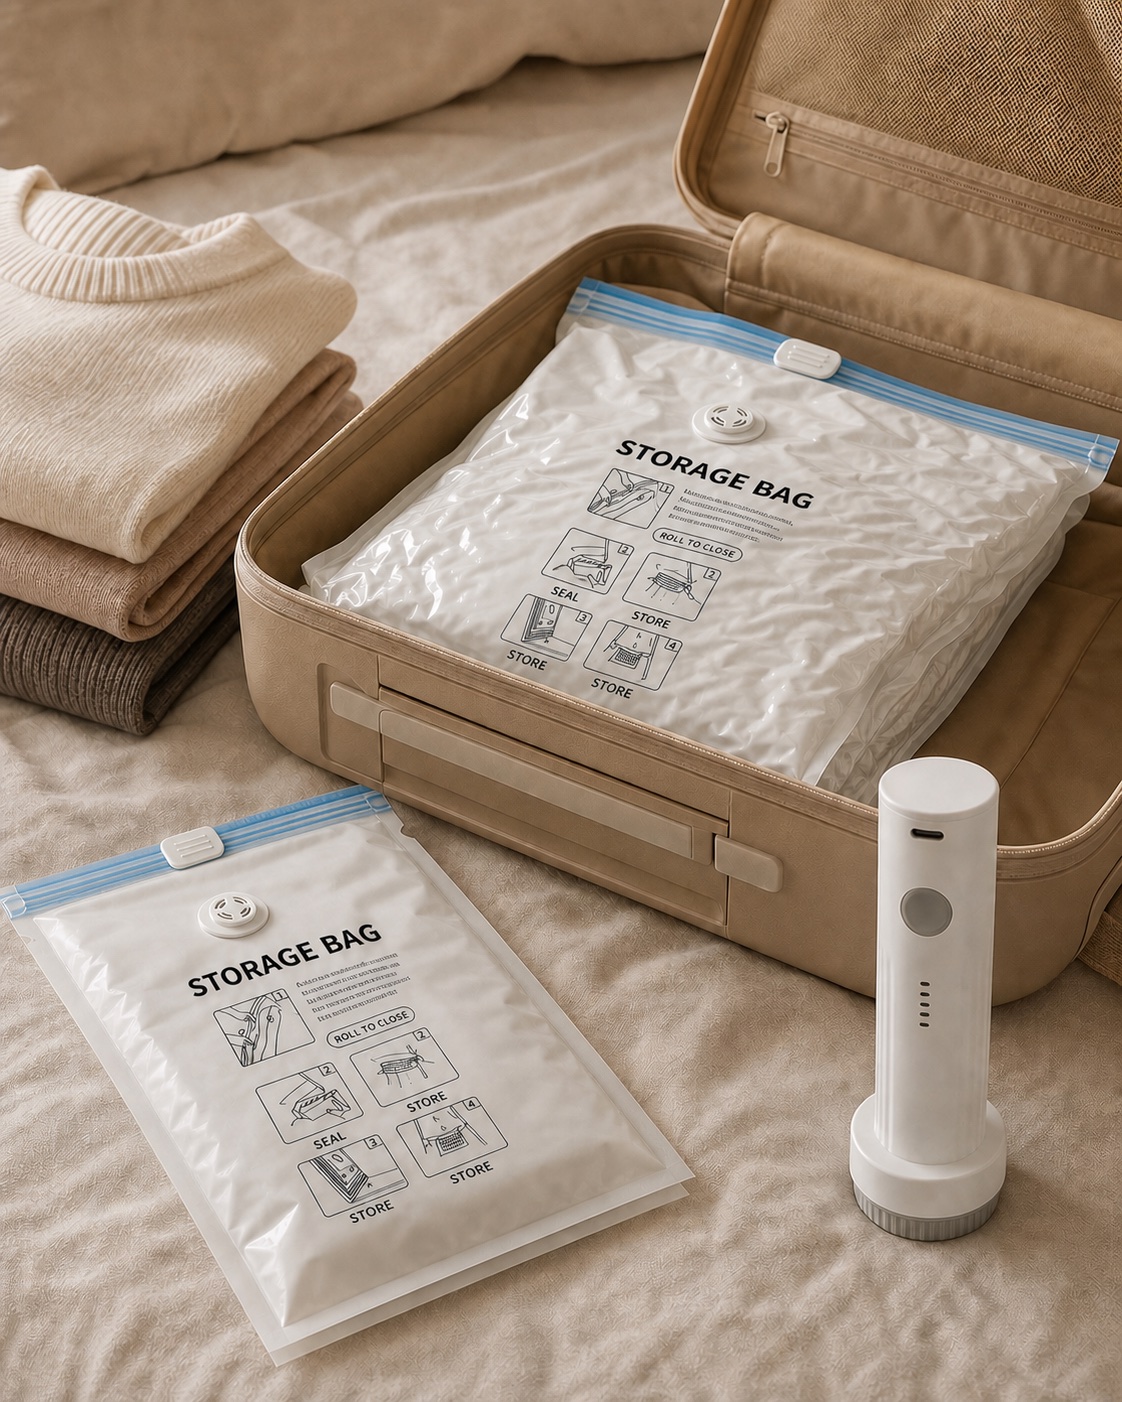
Think of each label as a promise: the contents should match it, and another person should know what belongs there. The same decision principle helps with travel organization; our comparison of vacuum bags versus packing cubes explains why access and category clarity can matter more than maximum compression.
How do you label photo storage boxes and cases?
Label the enclosure, divider, or a separate slip—not the image surface. Use a stable, readable label format and repeat it consistently:
- Group code: a short unique code such as FAM-A-03.
- Plain-language title: “Li family — 1990s” or “School events — 2008–2012.”
- Date confidence: exact, approximate, before/after, or unknown.
- Location: cabinet, shelf, outer box, and inner case number.
- Notes: names, source of the identification, or a related digital folder.
Keep removable labels and adhesives away from original photographs unless a qualified preservation source identifies a method suitable for that specific object. If labels may change, place an index card inside the group or keep the detailed record in a separate inventory.
What should a simple photo index contain?
A spreadsheet is optional. A notebook or printed table can work if it is easy to update. Record one row per group rather than one row per photograph at first.
| Field | Example | Purpose |
|---|---|---|
| Group code | TRIP-07 | Connects the index to the physical label |
| Title | California trip, approximately 2007 | Human-readable description |
| People / place | Names confirmed by Mei, July 2026 | Records the source of context |
| Physical location | Box 2, inner case 6 | Makes retrieval direct |
| Digital reference | Family_Photos/Trips/2007_CA | Links scans or access copies |
| Condition note | Two curled prints; handle separately | Prevents avoidable handling |
Back up a digital index and use filenames that do not depend on one person’s memory. Avoid putting sensitive personal information in a shared file unless the access level is appropriate.
How should originals, duplicates, and scans work together?
Do not treat a scan as a reason to neglect the original, and do not treat the original as the only usable copy. Scans can reduce repeated handling, make sharing easier, and preserve access if the physical collection is stored away. They also require file naming, backups, and periodic migration.
Keep the best physical original in an enclosure appropriate to its material and condition. Place everyday copies or selected prints in the easy-access system. If several family members want the same image, share a digital access copy or duplicate rather than repeatedly removing the original.
How does the COOVOAMAE photo and card box fit the workflow?
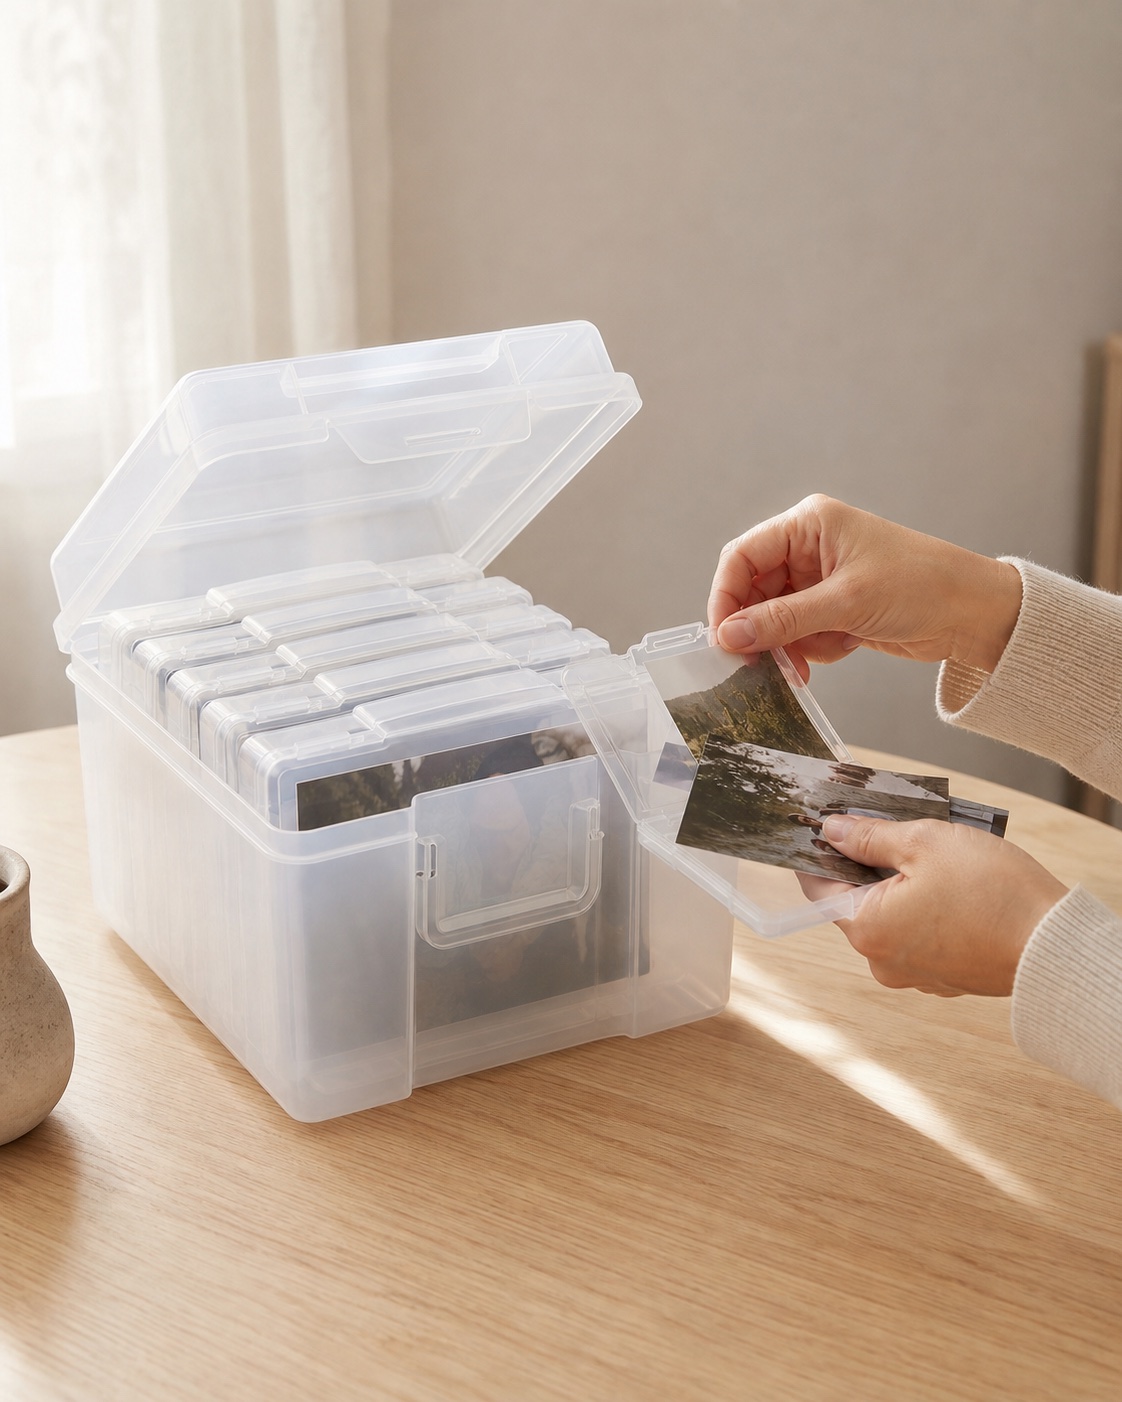
Current product facts: the COOVOAMAE Clear Photo & Card Storage Box uses a transparent outer organizer with individual inner cases. It is intended to keep printed photos, greeting cards, stickers, seed packets, craft supplies, keepsakes, and other small items visible and separated.
COOVOAMAE describes it as an organizational product, not a preservation-grade archival enclosure. For irreplaceable photographs, use suitable inner sleeves or envelopes and confirm that the combined dimensions fit before placing them in a case.
What should you do with damaged or mold-affected photographs?
Stop the normal sorting process. Do not force stuck photographs apart, flatten brittle prints, scrub surfaces, or apply household cleaners. Isolate items with suspected active mold from the rest of the collection and avoid spreading residue through shared enclosures or work surfaces.
For irreplaceable, historic, valuable, or significantly damaged materials, seek a qualified photographic conservator. The Library of Congress and U.S. National Archives provide preventive care guidance and directories or pathways for further help.
How do you maintain the system after the first sort?
- Create one intake case or envelope for newly found photographs.
- Schedule a short review before the intake group becomes another unsorted box.
- Update the index whenever a group moves.
- Record newly confirmed names and the source of the identification.
- Inspect the storage location after moves, leaks, pest activity, or major environmental changes.
- Keep unrelated objects out of photo cases unless they are safely enclosed and part of the documented group.
A maintenance system works best when its parts have clear boundaries. The same idea applies when a household item combines fabric and electronics: separate the components before care. See our guide to cleaning a silk heated eye mask for an example.
Frequently asked questions
What if I do not know any dates?
Sort by a different reliable clue, such as family branch, place, source envelope, format, or broad life stage. Keep an “identify later” group and record who supplied each later identification.
Should I write names on the back of a photo?
Prefer labeling an enclosure or separate index. Writing materials and pressure can affect photographs, and the appropriate method depends on the photographic process and condition.
How should duplicates be handled?
Compare the backs as well as the images. Keep the best copy, preserve any copy with unique notes, and route true extras to a share group rather than making a rushed discard decision.
Do I need to scan every photograph?
No. Prioritize irreplaceable images, fragile items that should be handled less, frequently shared photographs, and groups tied to an active project. A smaller, well-labeled scanning project is easier to finish and back up.
Can cards and photographs share one organizer?
They can share an outer organizational system when sizes and materials are compatible, but separate categories and inner enclosures reduce rubbing, pressure, and confusion. Valuable photographs may need documented photographic enclosures within the organizer.
Sources and methodology
This workflow separates organization from conservation treatment. Handling, enclosure, and environmental boundaries draw on the Library of Congress and U.S. National Archives. Product statements are limited to COOVOAMAE’s current organizational format; no archival rating is claimed.
- Library of Congress: Care, Handling, and Storage of Photographs — FAQs
- Library of Congress: Care, Handling, and Storage of Photographs
- U.S. National Archives: How do I house photographs?
- U.S. National Archives: Storing Family Papers and Photographs
- COOVOAMAE: Clear Photo & Card Storage Box Collection
Preservation note: Irreplaceable, historic, damaged, mold-affected, or unusually valuable photographs may require advice from a qualified photographic conservator.